Spring is a magical time in the bonsai world. As the buds swell and the first delicate leaves begin to unfurl, it’s a season full of promise—but also a time-sensitive period for crucial bonsai care. In this special feature, renowned bonsai artist Lloyd Noall, with over 30 years of expertise in commercial bonsai artistry, takes us through the careful and intricate process of this magnificent 55-year-old Hornbeam bonsai repotting.
This tree has been nurtured for decades, developing stunning movement and character, but now it’s at a pivotal stage. In Part 1, Lloyd expertly navigates the challenges of repotting, from carefully working the root ball free after years of solid growth to making bold pruning decisions that enhance the tree’s natural beauty.
Join Lloyd as he shares his insights, techniques, and a deep appreciation for the art of bonsai. Watch as he tackles everything from root work to refining the tree’s structure, ensuring it continues to thrive for many more decades.
Stay tuned for Part 2, where the focus shifts upward to branch refinement and further styling. Don’t forget to subscribe and hit the notification bell so you don’t miss the next stage in this Hornbeam’s journey!
Springtime and the Urgency of Repotting
I really love springtime. It’s a magical time of the year. All those little buds that have been developing over the winter start to swell and unfurl. And those little leaves pop out. Magic. Pure magic.
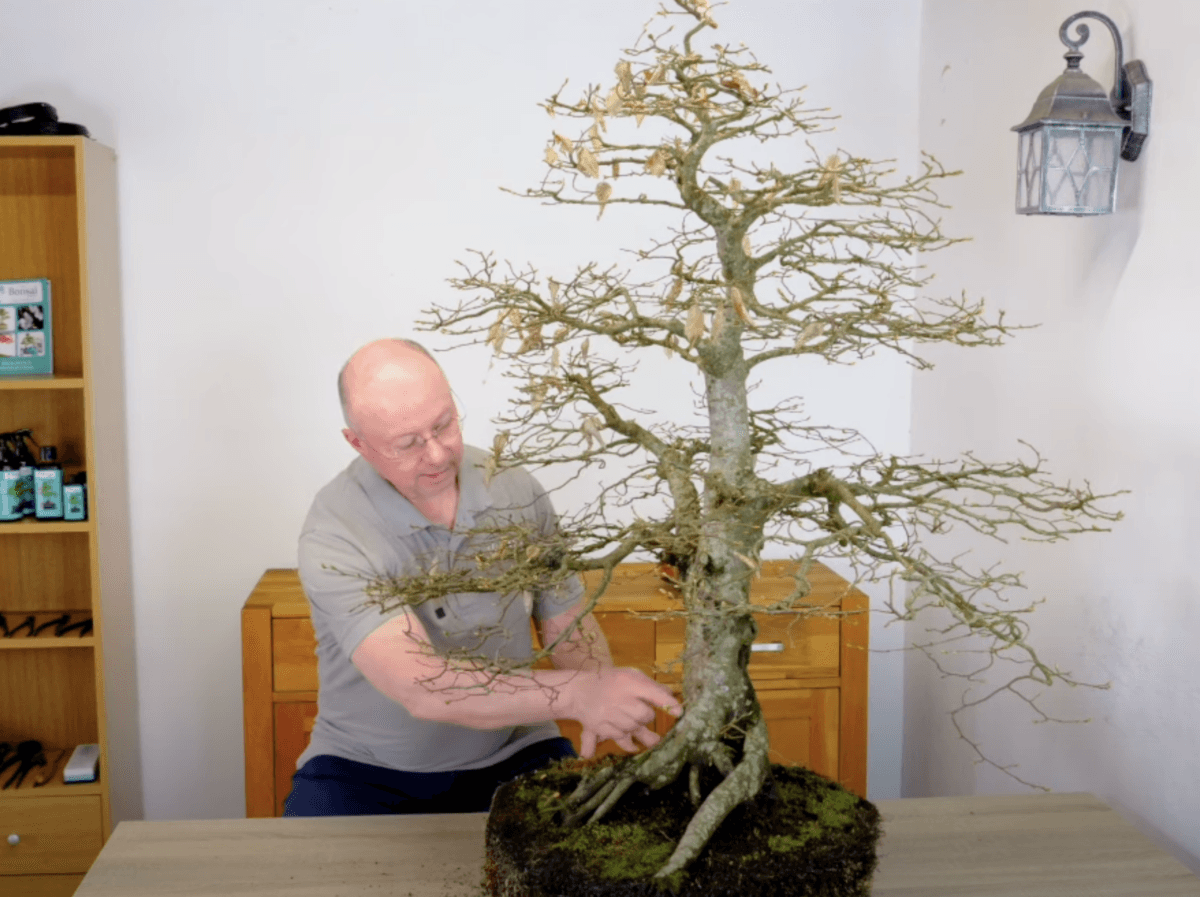
Of course, the downside is that I’ve got loads of trees that need repotting, and I need to do those before the buds start to unfurl. And this is one of them. This is a Hornbeam that I’ve been growing for a long time. Many, many years. And it’s kind of just borderline now.
I went out this morning to look through my bonsai collection, and I thought, “Oo, I’ve got to get this one done.” It hasn’t been repotted for a few years, so it does need doing, and I’ve got just about enough time to do it now.
Preparing for the Root Work for Hornbeam Bonsai Repotting
So I’ve allowed today and tomorrow to get all the root work done before the buds start to swell any more and before they start to open up. By then, it’s too late. So I’ve got to get stuck in and get the roots out and see what’s going on in there.
I’ve also got some pruning and tidying up to do, as well. So that’s what we’re going to be doing in this video. Let’s get stuck in.
Before I start on the root ball, I need to tidy up around here. The Hornbeam is very good at throwing out branches all over. It adds a lot of character, but we don’t necessarily need all these little branches. However, sometimes they create interesting features, like lumps and bumps, that we see on older trees.
Removing Excess Growth and Starting the Repotting Process
I don’t actually need any of this here, so I’m going to prune these out.
I’ve got a lovely start to the bonsai. It has a nice flow, and some lovely branches come down into this space. But here, it’s very busy, so I’ll remove all of this before working on freeing the root ball from the pot.
Now I start working my way around the outside of the root ball with my trusty old potting scythe, which I’ve used many times before. It’s just a process—keep working around and gradually go deeper. The trick is not to push too hard or too deep but to keep a gentle, consistent motion.
Extracting the Root Ball with Care Prior to Hornbeam Bonsai Repotting
I also use an old pruning saw. As the blade goes deeper, it gets clogged with soil. Using the saw, I can clean out the old soil rather than cutting through roots. It’s a good way to rake out the soil while working the tree free.
Regularly clearing excess soil from the rim of the pot helps prevent it from falling back into the gap and clogging the blade again. I knew this process would take a long time—about six hours, in fact.
After several hours of careful work, I finally reached the point where I could test whether the root ball was loose. I knew it wouldn’t be, but I had to try. No chance!
Finally, the Tree is Free!
At last—mission accomplished! That’s one part of the repotting process done: getting the tree out of the pot. Now onto the next step—sorting out the roots.
As you can see, I’ve removed the outside and underside roots. The root ball was too solid to tease apart, so I used a very sharp saw to cut through it carefully. Then, I washed out the remaining soil and trimmed back any damaged or broken roots.
A Focus on Structure and Root Refinement
I didn’t film the potting process for this bonsai because what I really wanted to show you was this: structural refinement.
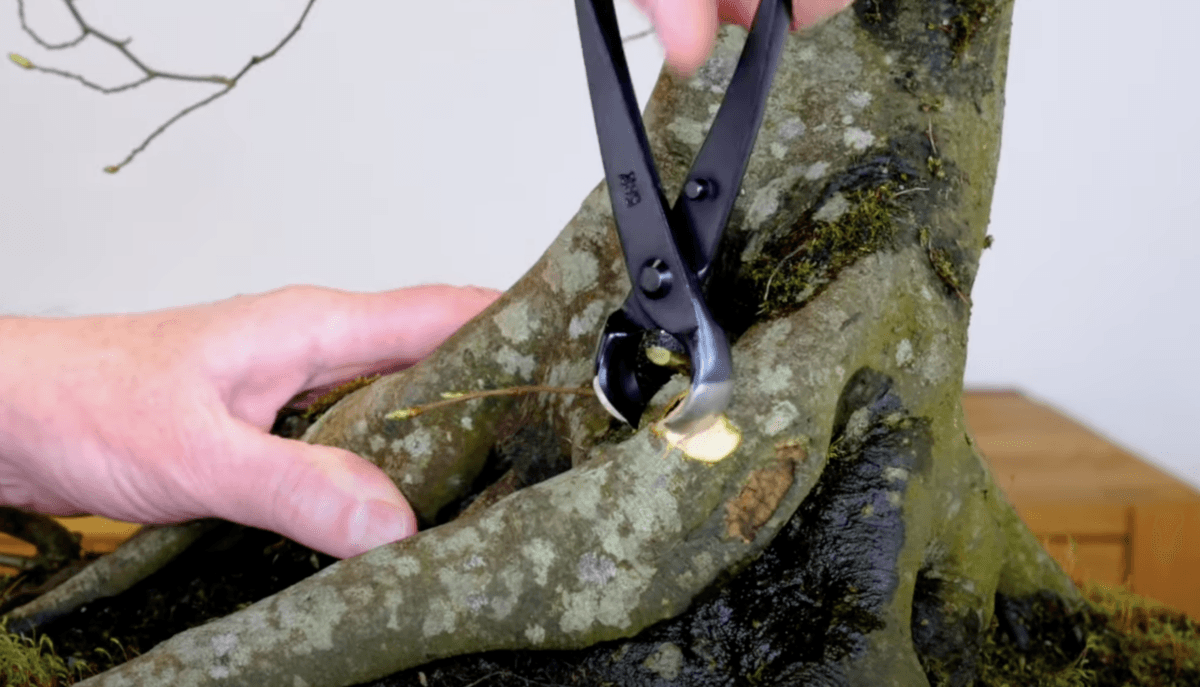
For the past few years, I’ve been observing the start of this bonsai, and I love its muscling shape. However, one problematic root has always caught my eye. Now is the time to remove it.
This root crosses underneath another and slightly disturbs the composition. By removing it, I can expose more of the tree’s natural character.
Removing the Root with Precision
Normally, I’d use a folding saw, but I don’t want to risk damaging the trunk underneath. Instead, I’ll carefully nibble away at it with cutters.
Good news—the root was just starting to join with the other, but it wasn’t fully fused! That means I don’t need to do any extra work underneath, just a little cleanup.
A New Bonsai from an Old Root?
Here’s an interesting thought—this root has potential. If I carefully separate it, I could plant it and let it regrow, creating the start of a new bonsai! That’s exciting! Let’s give it a go.
Refining the Bonsai’s Base
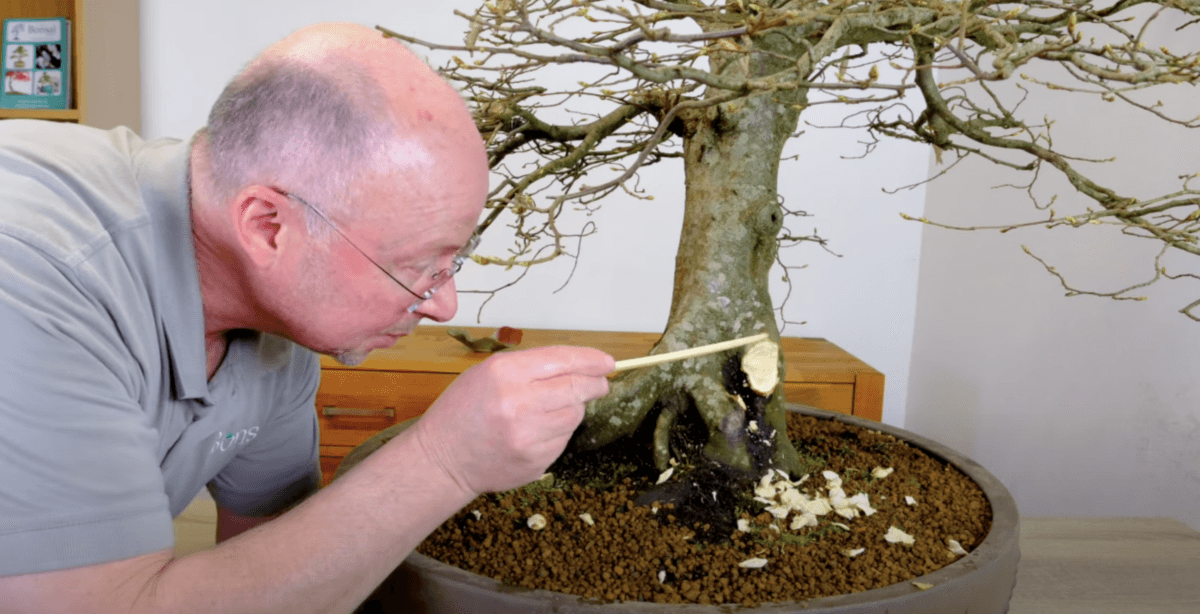
Now that the root is removed, the base looks so much better. I need to clean up the cut and blend it naturally into the trunk. I’ll also remove some excess soil from this area to ensure it heals smoothly.
The next step is to get the tree back into a pot with fresh soil. Once that’s done, I can focus on refining other areas of the tree, including some light carving to enhance its natural lines.
Carving for Natural Healing
Now that we’ve removed the excess root, we need to shape this area properly. The key is allowing for natural scar tissue formation so the tree heals beautifully over the next few years.
I’m making a dish-shaped cut to encourage proper rolling of the cambium layer. I’ll go slowly, taking off a little at a time, ensuring I don’t remove too much.
Observing Natural Healing in Bonsai
Here’s an example—this is a tree I carved about 25 years ago. I left some shape in the outline to encourage rolling scar tissue, and it’s healed wonderfully over time. The best way to learn about bonsai healing is by observing full-sized trees in nature.
In my next video, I’ll be working on this Japanese maple. There’s some cleaning, pruning, and tweaking to do, so don’t forget to subscribe and hit the notification button!
Wrapping Up Part One of This Mighty Hornbeam Bonsai Repotting
I’m happy with the work so far. I haven’t smoothed everything out completely because it’s unnecessary. The key was getting close to the cambium layer while leaving enough sapwood for proper healing.
The start of this bonsai looks so much better without that big root dominating it.
Unfortunately, we’re out of time, so we’ll need to split this project into two parts. In Part 2, I’ll focus on branch refinement and further styling. Don’t miss it—subscribe and hit the notification button!


0 replies