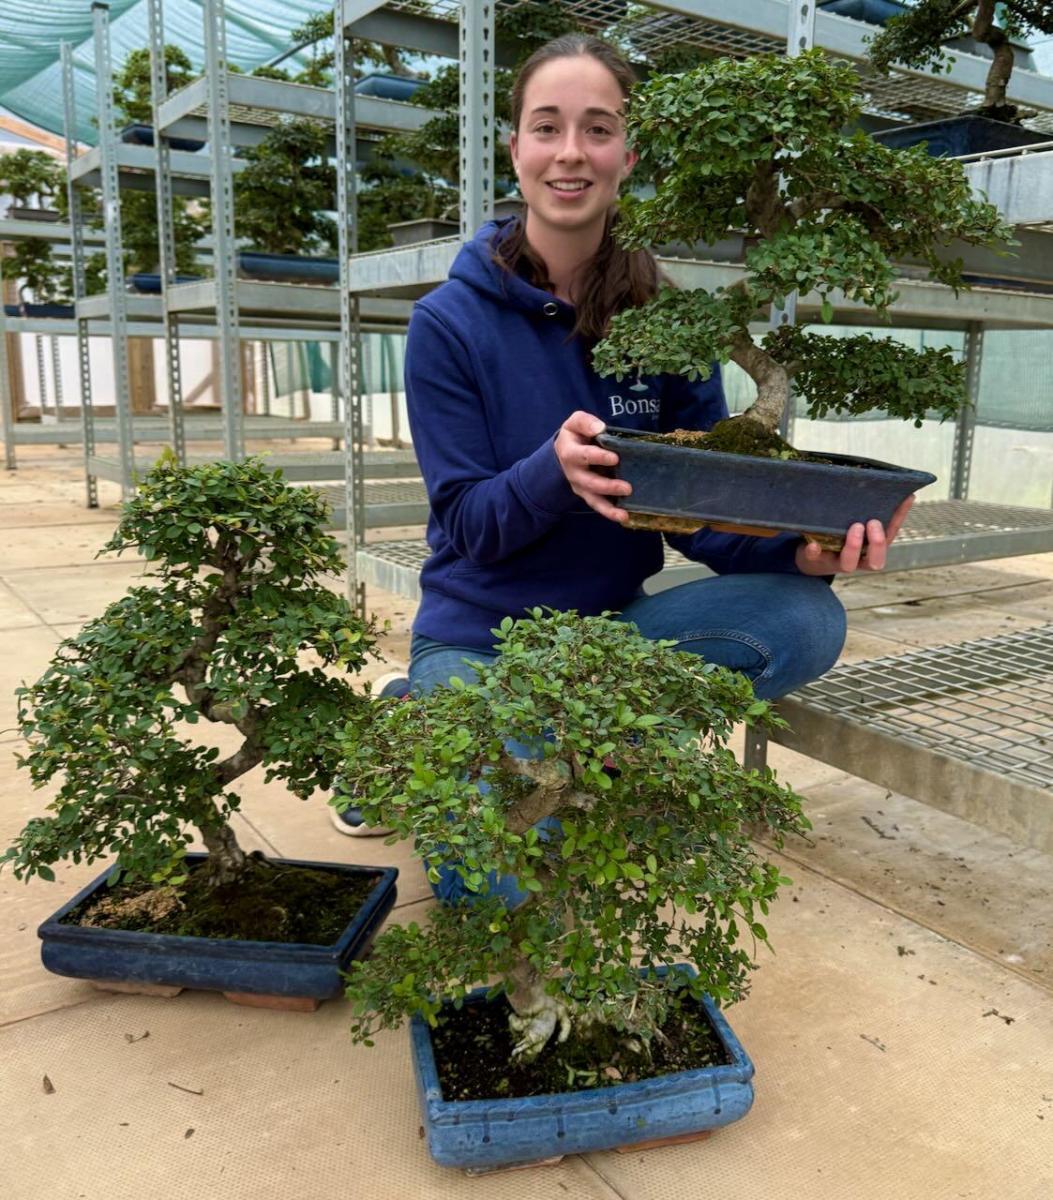
We are often asked ‘How do I repot my Chinese Elm Bonsai’
Repotting a bonsai isn’t just a gardening task—it’s a ritual, a moment to slow down and truly connect with your tree. In this video, join Holly, our indoor bonsai professional here at Bonsai Direct, as she takes you step-by-step through repotting your Chinese Elm bonsai. She begins with a simple but meaningful habit she learned from her father, Bonsai Expert Lloyd Noall 😆.
It’s a chance to appreciate its beauty before beginning the work. From carefully teasing out the root ball (or a little more boldly in the case of a hardy Chinese Elm), to choosing the perfect new pot, Holly shows exactly how to refresh a bonsai for the seasons ahead. Along the way, she shares tips on root health, pruning, pot choice, and even giving the trunk a gentle scrub to finish. By the end, the Chinese Elm is sitting proud in its new home—fresh, healthy, and ready to thrive.
How do I repot my Chinese Elm Bonsai – Holly shows you step by step
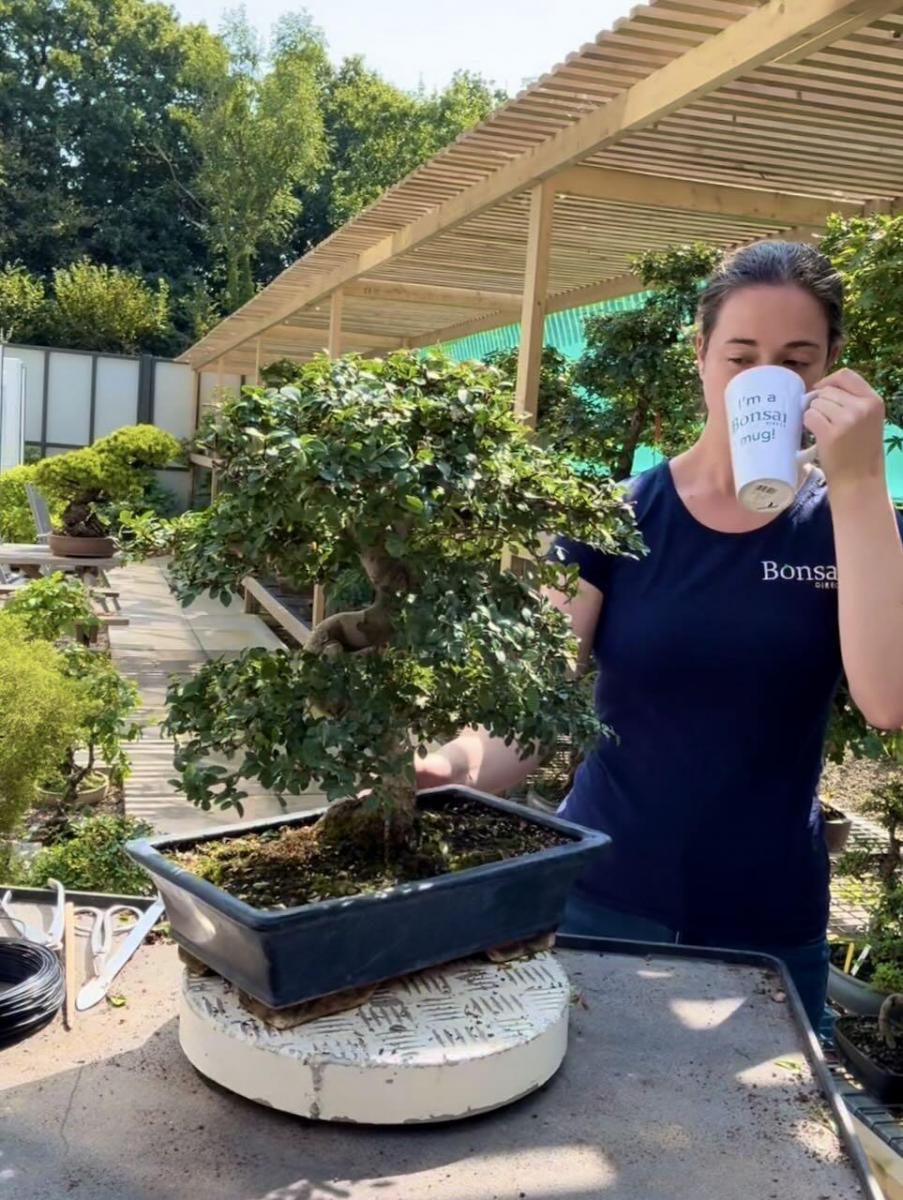
Admiring Your Bonsai Before Repotting
Before you even touch a tool, take a moment to appreciate your bonsai. This is a tradition that Holly, our indoor bonsai professional, learned from her father, Bonsai Expert Lloyd Noall. He always says that pausing with a cup of tea or coffee to simply admire your tree is a vital part of the process. It’s not just about mindfulness—it helps you observe the tree’s health, structure, and potential before you make any changes.

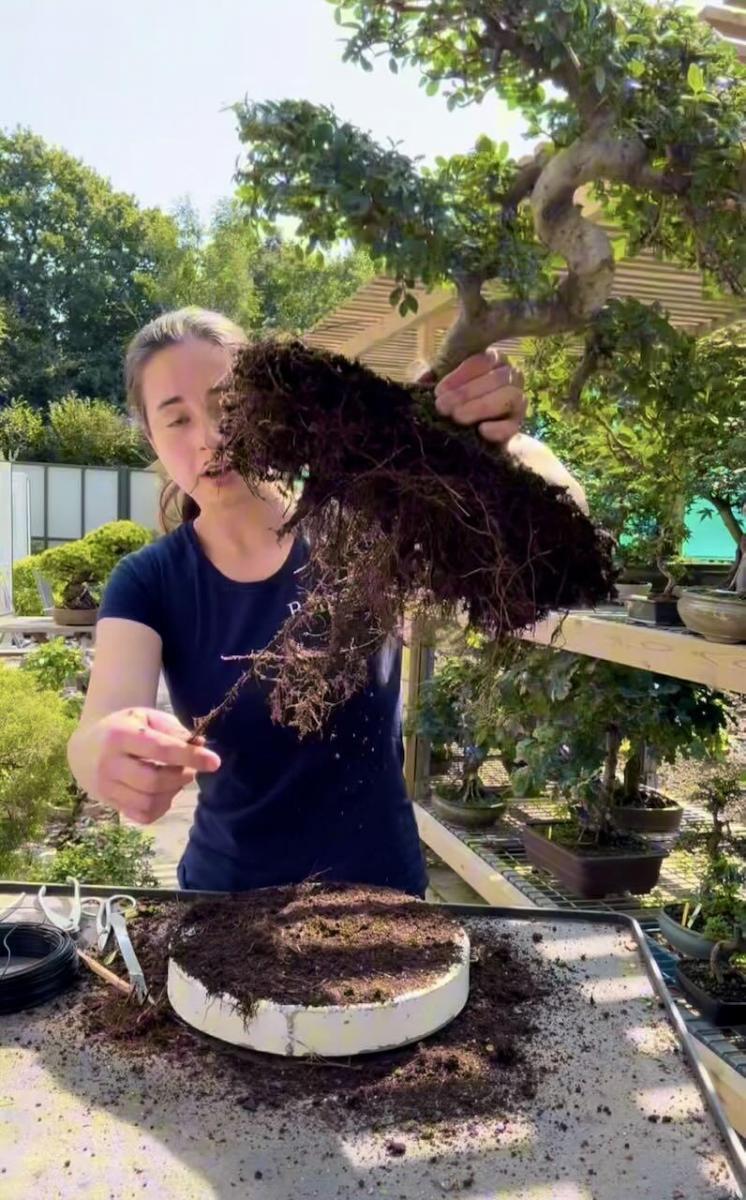
Holly teasing out the bonsai roots with a root rake.
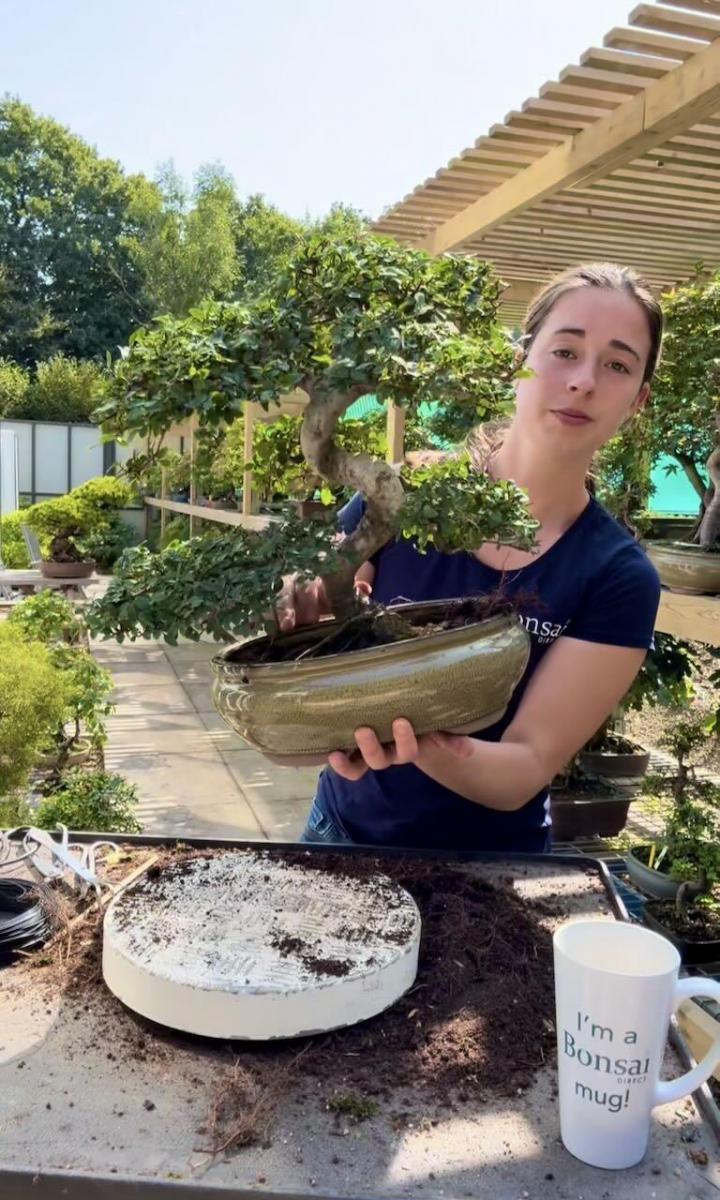
Working the Bonsai Out of Its Pot
Once you’ve taken in your bonsai’s beauty, it’s time to start the practical work. Begin by using a spatula, scraper, or root rake to gently loosen the root ball from the sides of the pot. Some trees, like the Chinese Elm (Ulmus parvifolia) in our video, may come out easily, while others might need a little more coaxing. You’ll quickly see if your bonsai is potbound—a sure sign it’s ready for repotting.
Holly is checking to see if the roots are soil in the bonsai pot. If the roots cannot grow then neither can the top of the bonsai and it will start to struggle. The Chinese Elm, when grown as an indoor bonsai, can be re-potted at any time of the year – the warmer months are best!
Teasing Out the Roots
With the tree removed from its pot, grab a chopstick and start teasing the roots apart. Work carefully around the edges, removing old soil as you go. For robust varieties like Chinese Elm, you can be a little more assertive with root handling—if a few roots are damaged, they’ll usually recover well. More delicate species, such as Fukien tea trees (Carmona microphylla) or Tree of a Thousand Stars (Serissa foetida), require a gentler approach.
Holly holding a bonsai with roots exposed
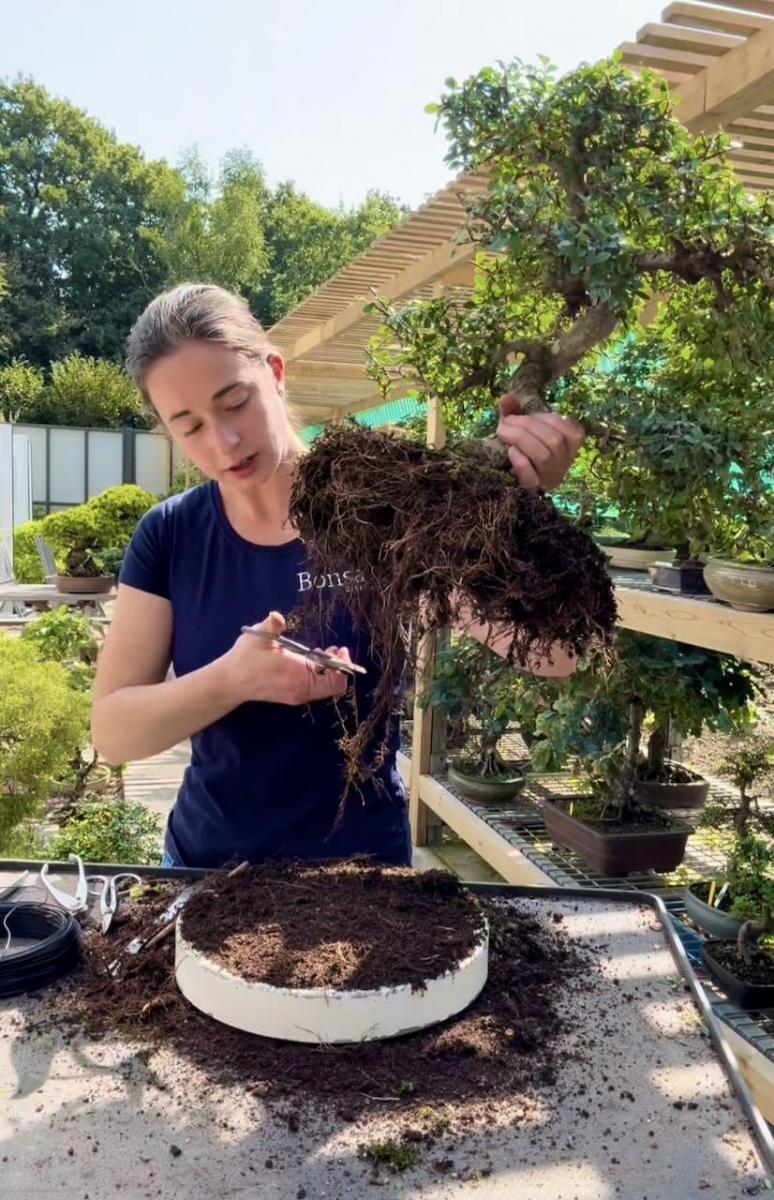
Root Pruning
Once you’ve exposed the longer roots trailing downwards, you can begin root pruning. Remove any that are overly long or straggly to encourage finer feeder roots closer to the trunk. This helps improve nutrient uptake and stability. With tougher varieties like Chinese Elm, you can prune more confidently, but always be careful to avoid removing too much at once.
As a general rule of thumb I would only remove no more than 10% off the root ball. Less on fine rooted bonsai. You can always do a little more next year and you don’t want to stress the bonsai.
Choosing the Perfect Pot
The pot you choose plays a huge role in your bonsai’s aesthetic and overall balance. Holly shortlists four pot options in the video, inviting viewers to help pick their favourite. The winning choice was a beautiful green oval pot, which complements the tree’s shape and leaf colour perfectly. When choosing your own pot, consider proportion, style, and colour to enhance your tree’s natural beauty.
Preparing the Pot and Planting
Before replanting, prepare your pot with mesh over the drainage holes and secure anchor wires. Sprinkle a base layer of soil mix—Holly uses a peat-free compost with Akadama for aeration and drainage. Position your bonsai carefully, ensuring it’s just off centre and at the right height, before tightening the wires to secure it in place. You can use extra soil if you need to raise the bonsai slightly.
Final Touches of How do I Repot my Chinese Elm Bonsai
Once your bonsai is secure, work additional soil in and around the roots, using a chopstick to remove air pockets. Finish by watering thoroughly until water runs out of the drainage holes. For a finishing touch, Holly gives the trunk a gentle scrub to remove algae from the bark and keep it looking its best. The result is a healthy, revitalised bonsai ready to thrive in its beautiful new home.
🪴 Key Tip: When you have finished repotting your bonsai tree, do not feed it with bonsai fertiliser for at least a month. The roots are fragile after repotting, and feeding too soon can scorch them. Resue regular feeding after this time. Misting your bonsai tree with Bonsai Mist is still good practice.
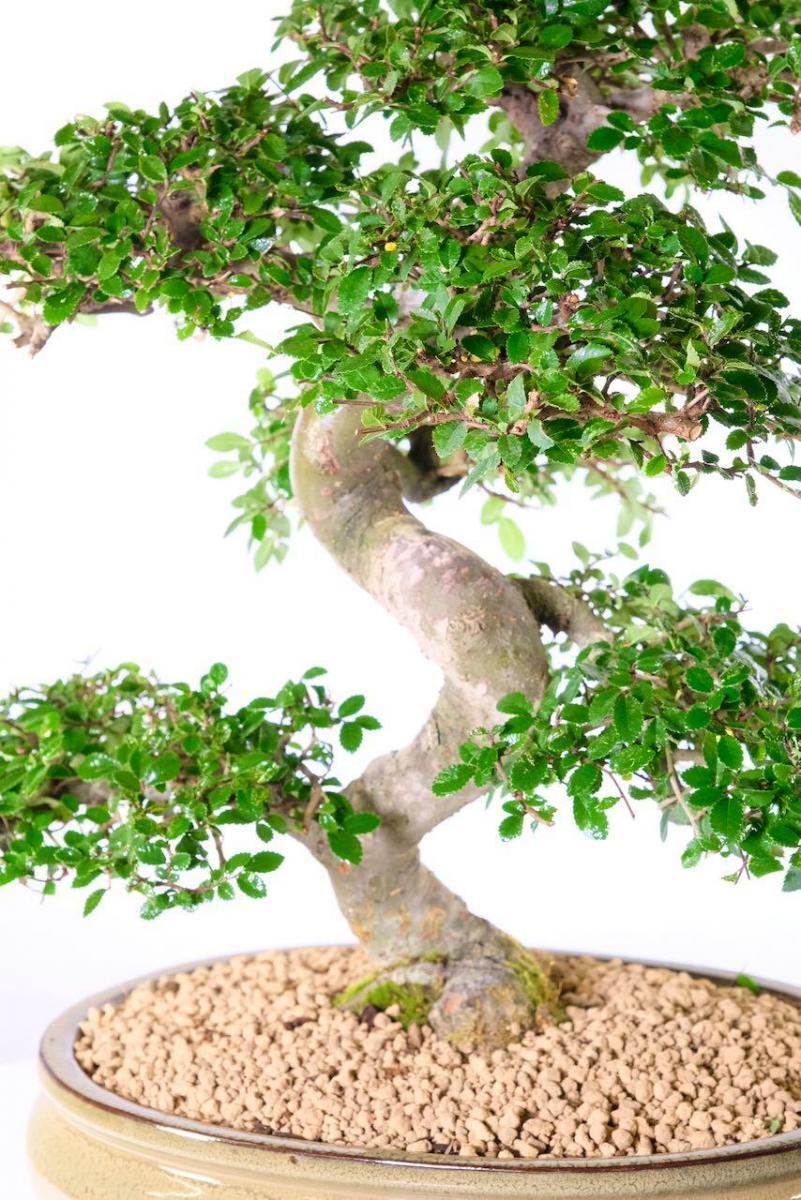
How do I repot my Chinese Elm Bonsai Final Photos
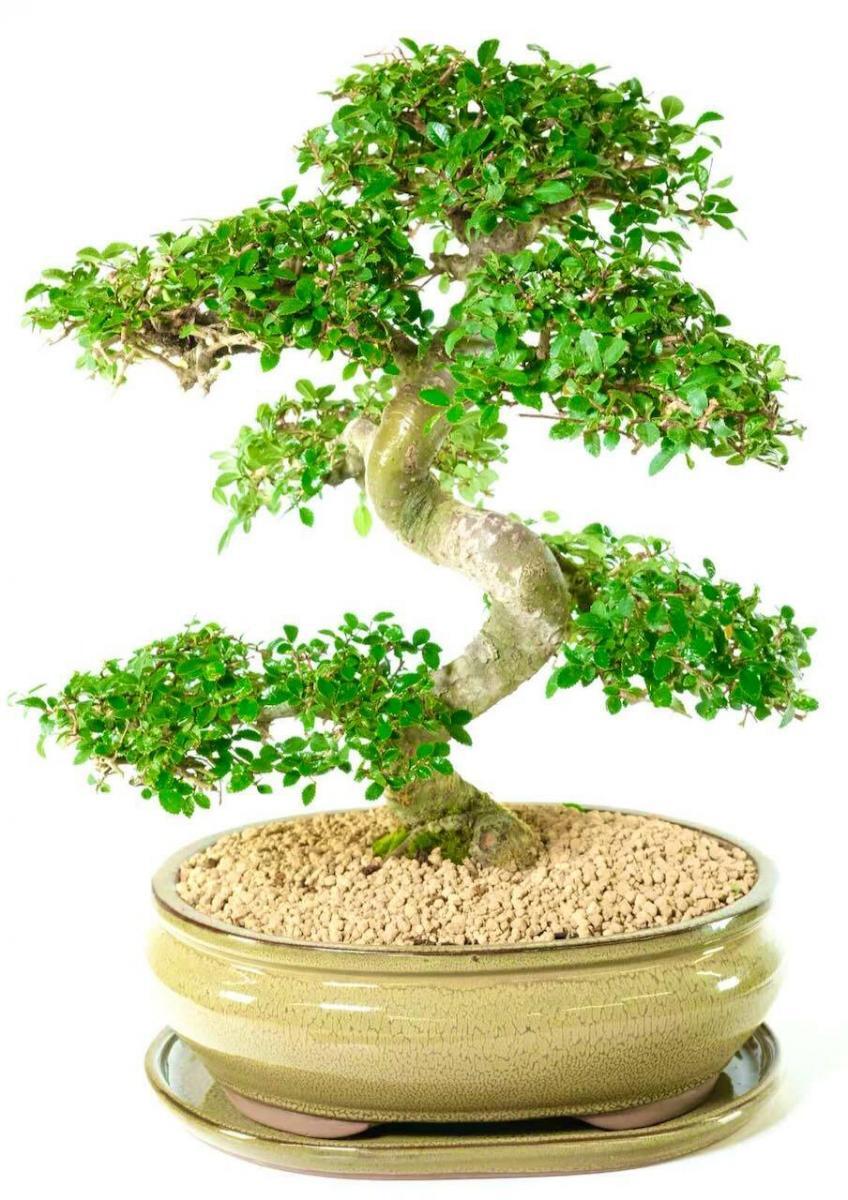
Image showing the front of the bonsai
Image showing the back of the bonsai


Felix –
RepottingBonsai blog comment creation a Chinese Elm bonsai can feel a bit daunting, especially making sure the roots are pruned just enough without stressing the tree. I’ve found that timing makes a big difference too—doing it in early spring before the new growth takes off helps the tree settle into its new pot more smoothly. Do you usually recommend trimming back branches at the same time as root pruning, or is it better to stagger those tasks?
Sarah Noall –
Hi Felix, thank you for your great comment! You’re spot on about timing making a big difference. With Chinese Elms, you can safely prune the branches at the same time as root pruning—or even a little beforehand. By reducing the canopy, you ease the strain on the tree while it adjusts to having fewer roots.
Chinese Elms are wonderfully forgiving and one of the easiest species to root prune, especially when they’re in good health. Spring or summer is ideal, but they usually cope well at other times too. The main thing is not to take off too much of the root system in one go—gentle, steady pruning will always give the best results.
Wishing you every success with your elm—it sounds like it’s in very capable hands!